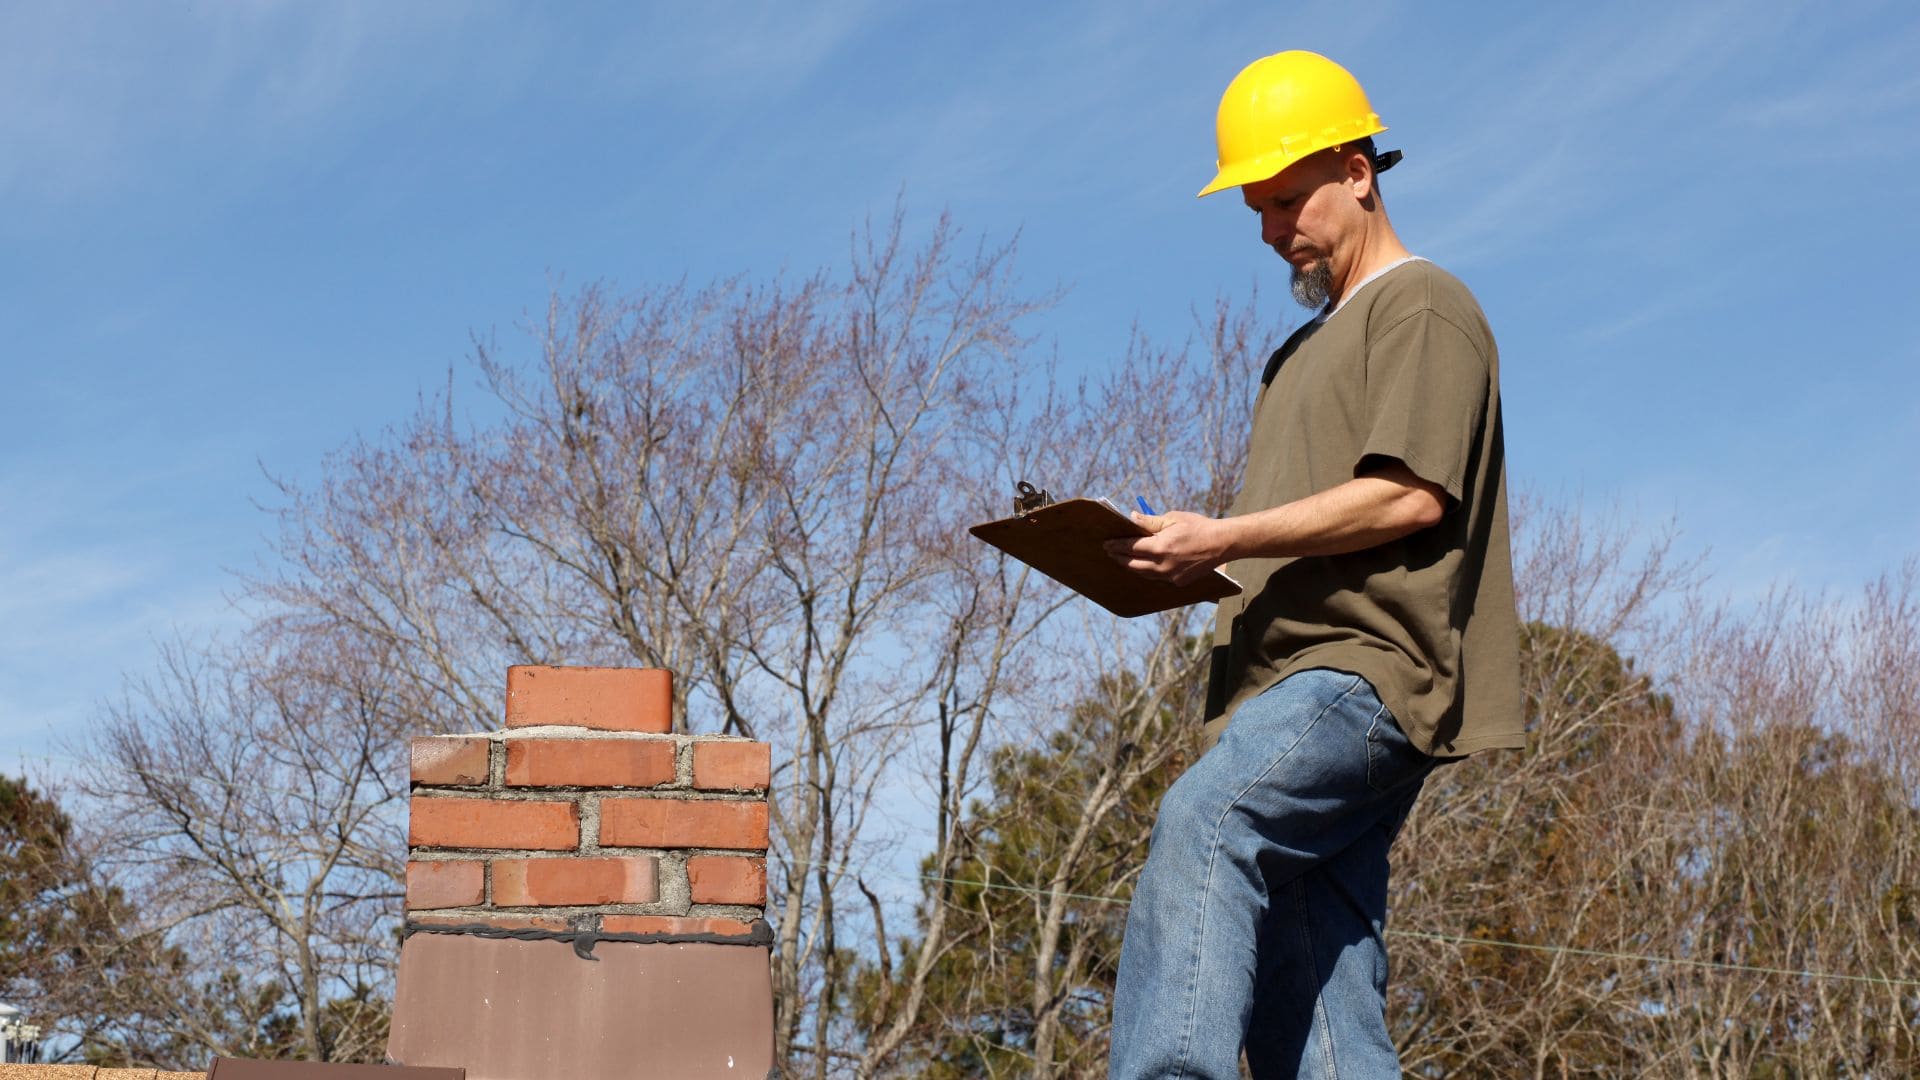
Your chimney might be showing warning signs you haven't noticed yet. Here's what to look for before winter turns a small problem into a major repair.
Share:
Most homeowners in Rochester, MA don’t think about their chimney until something goes wrong. That’s understandable — it’s not exactly the first thing on your mind when you’re maintaining a home. But chimneys are one of those systems where waiting until there’s an obvious problem usually means the problem has already gotten expensive. The signs are often subtle: a faint smell, some discoloration on the bricks, a small crack you’ve been meaning to look at. This post breaks down what those signs actually mean — and which ones you shouldn’t ignore heading into winter.
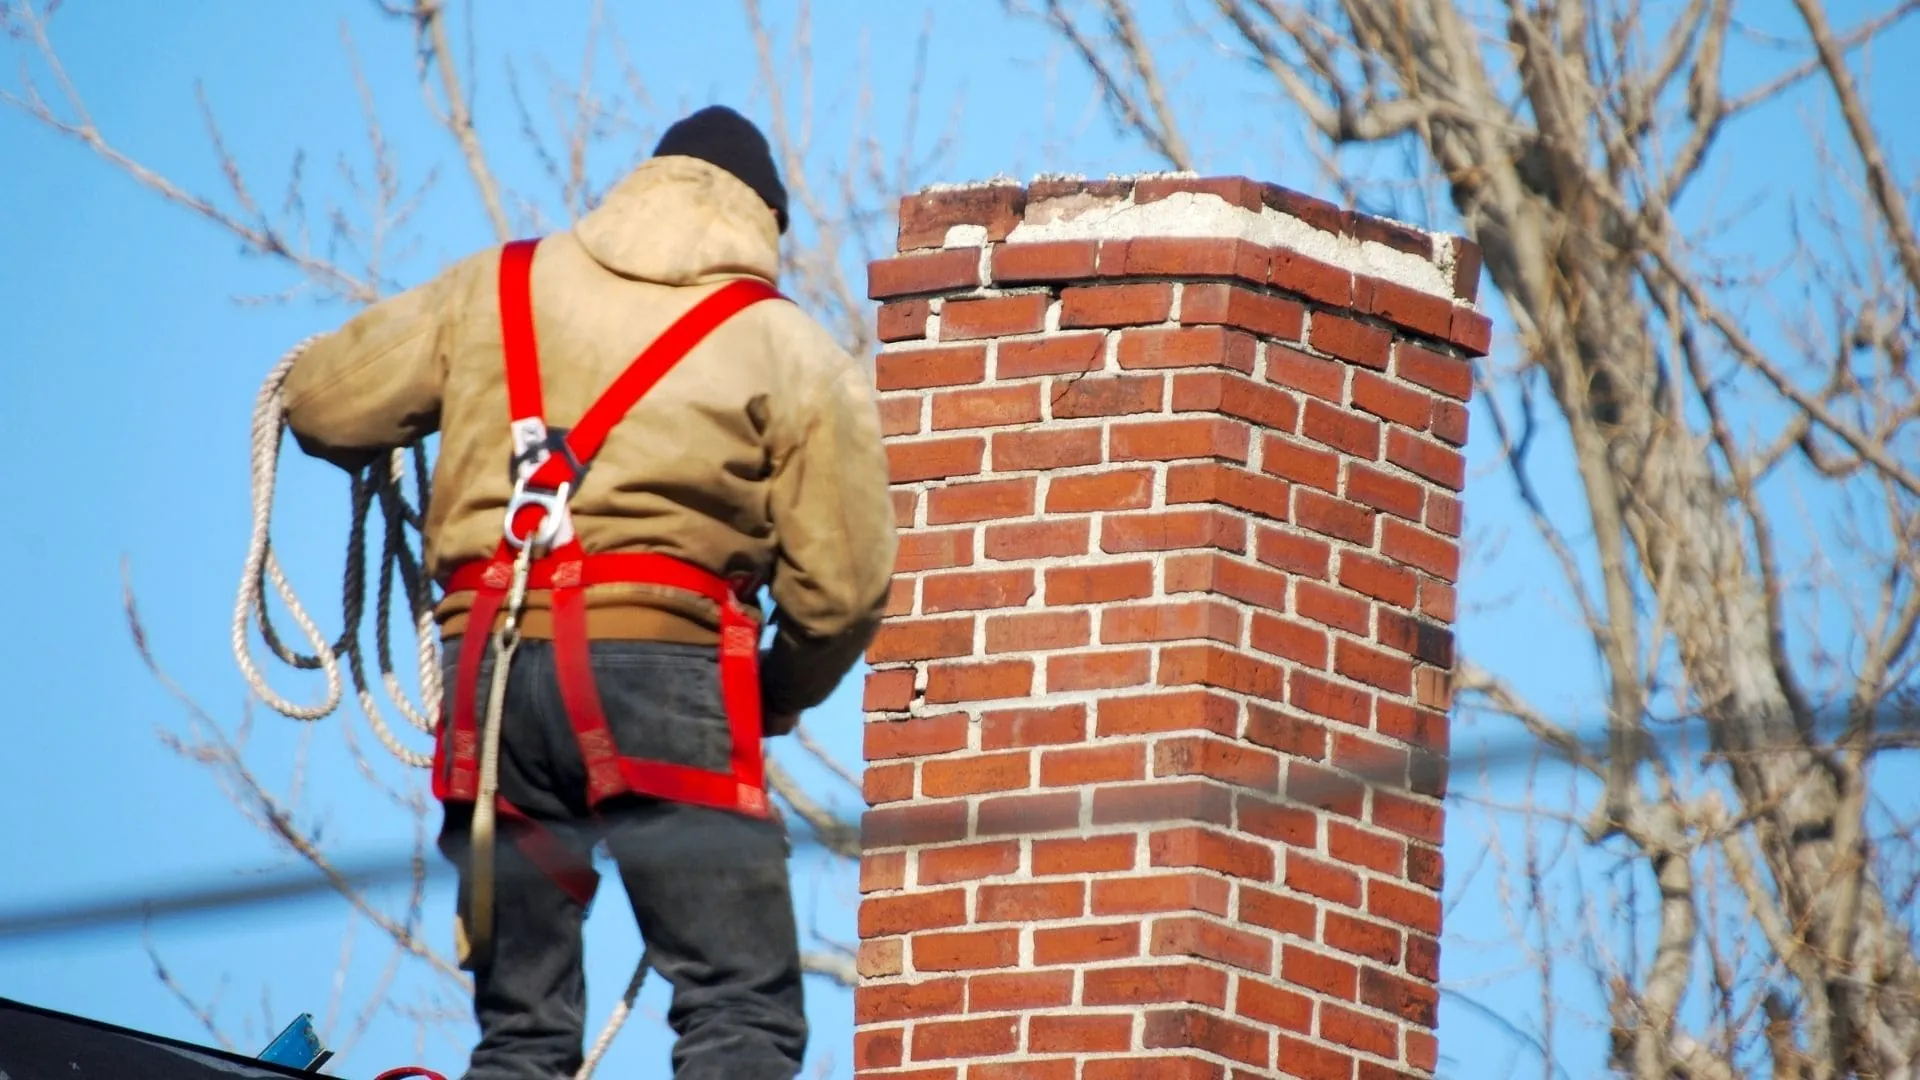
If you’ve noticed pieces of brick on the ground near your chimney, or bricks that look like they’re flaking or breaking apart at the surface, that’s called spalling — and it’s one of the more telling signs that your chimney has a moisture problem. It’s not just cosmetic. Once the outer face of a brick breaks down, water gets in faster, the damage accelerates, and what started as a surface issue can work its way into the structure.
In Rochester, this happens faster than most people expect. The proximity to Buzzards Bay means there’s consistent moisture in the air year-round, and when that moisture gets into masonry and then freezes overnight, it expands. That expansion is what fractures the brick. One winter of freeze-thaw cycles does real damage. Several winters of it, unaddressed, can compromise the structural integrity of the chimney itself.
The mortar between your bricks does more than hold things together. It’s also the first line of defense against water intrusion. When mortar joints start to crack, crumble, or recede, water finds its way in. Once water is inside the chimney structure, it doesn’t stay contained — it migrates, it freezes, and it keeps breaking things down from the inside out.
The tricky part is that mortar deterioration is easy to overlook from the ground. You might see some gaps or roughness if you look closely, but the full extent of the damage usually isn’t visible without getting up close or using a camera to inspect the interior. Rochester homes built before 1940 — and roughly 13 percent of homes here fall into that category — are especially likely to be dealing with original mortar that’s been through decades of coastal New England winters. That mortar wasn’t designed to last forever, and by now, most of it hasn’t.
The repair for deteriorated mortar joints is called tuckpointing — a process where the damaged mortar is removed and replaced with fresh material that’s properly mixed for freeze-thaw conditions. It’s one of the more straightforward chimney repairs when it’s caught early. When it’s not caught, and water has been getting in for years, the repair scope grows significantly. A few hundred dollars of tuckpointing can prevent a repair bill that runs into the thousands, which is why this is exactly the kind of thing a pre-winter inspection is designed to catch.
Mortar deterioration and spalling bricks often show up together, because they share the same root cause. If you’re seeing one, there’s a reasonable chance the other is present too, even if it’s not visible yet.
That chalky white residue you might see on the outside of a chimney — called efflorescence — is one of the most misunderstood warning signs in home maintenance. It looks like a stain, so most people assume it’s a surface-level issue. It’s not. Efflorescence is what’s left behind when water moves through masonry and carries dissolved salts to the surface as it evaporates. The stain itself is harmless, but what it tells you is that water is actively traveling through your chimney’s masonry. That’s the problem.
For Rochester homeowners, efflorescence is worth taking seriously because the coastal moisture environment here means chimneys are under more consistent water pressure than in drier inland areas. If water is already moving through the masonry, it’s going to keep doing it — and every freeze-thaw cycle makes the pathway wider and the damage more extensive. Left alone, what starts as efflorescence can progress to cracked bricks, deteriorated mortar, and eventually water getting into the firebox or the surrounding wall structure inside your home.
The fix depends on what’s driving the moisture intrusion. Sometimes it’s a cracked crown at the top of the chimney. Sometimes it’s failed flashing where the chimney meets the roof. Sometimes it’s the absence of a chimney cap, leaving the flue open to rain and snowmelt. A proper inspection identifies the source, not just the symptom. Treating the stain without addressing what’s causing the water movement is the kind of thing that feels resolved until the next winter makes it clear it wasn’t.
Water is the most common cause of chimney damage, and it’s also the most preventable. The challenge is that chimney leaks don’t always show up in obvious ways. You might notice water in the firebox after a heavy rain, or rust stains inside the fireplace, or a musty smell coming from the chimney even when it hasn’t been used. Any of these is worth investigating before temperatures drop and the system is under active use.
The most common entry points are the chimney crown, the flashing, and an uncapped or damaged flue. Each one has a different repair pathway, but all of them share the same urgency: water that gets in during fall and early winter will freeze, expand, and cause damage that’s significantly more expensive to fix in spring.

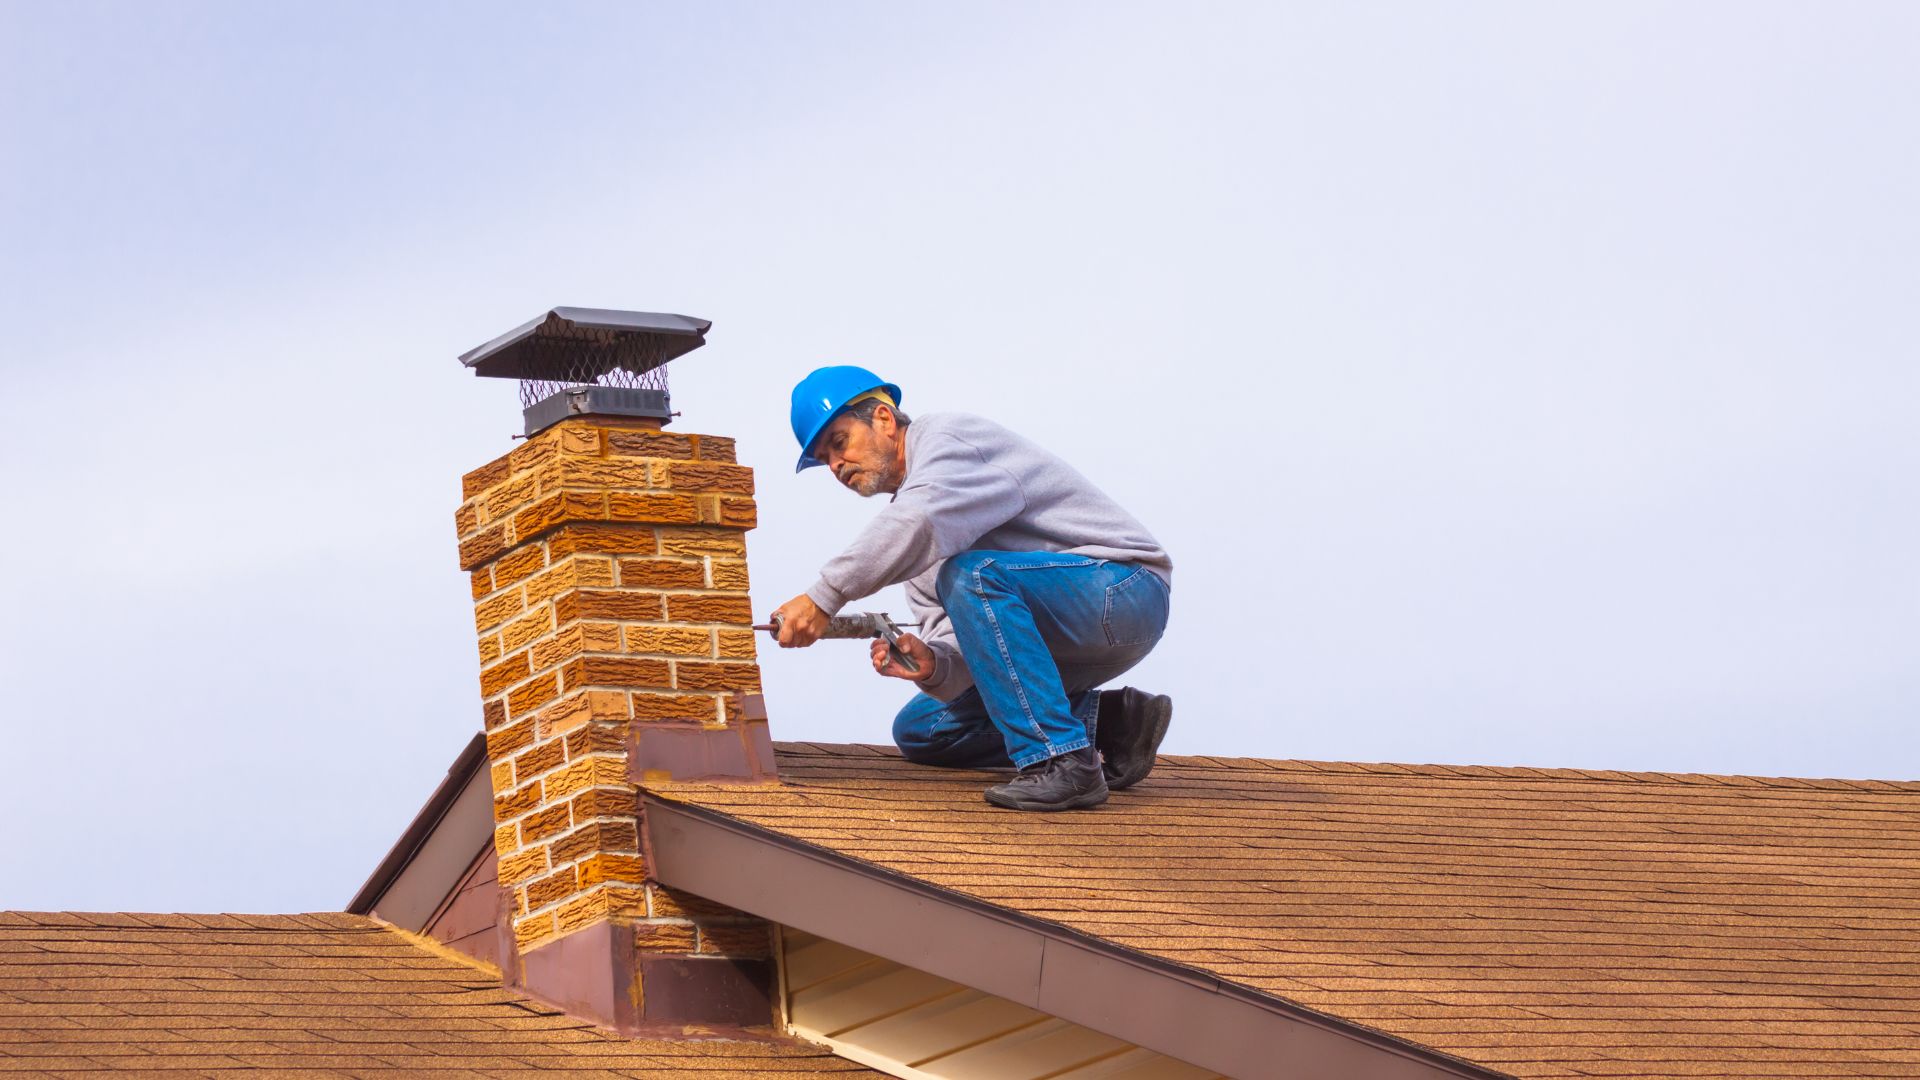
The chimney crown is the concrete or mortar cap that covers the top of the chimney, surrounding the flue opening. Its job is to shed water away from the chimney structure and protect the masonry below from direct exposure to rain and snow. When it cracks — which happens regularly in climates with repeated freeze-thaw cycles — water gets in directly at the top of the chimney and works its way down.
Crown damage is one of the most common findings on a pre-winter inspection, and it’s also one of the more straightforward repairs when it’s caught before it becomes a full crown replacement. Small cracks can often be sealed with a professional-grade crown coat product. Larger cracks, or crowns that have deteriorated significantly, typically require a full rebuild using a concrete mix that’s specifically formulated to handle freeze-thaw expansion — the kind of material specification that matters a great deal in a coastal New England climate like Rochester’s.
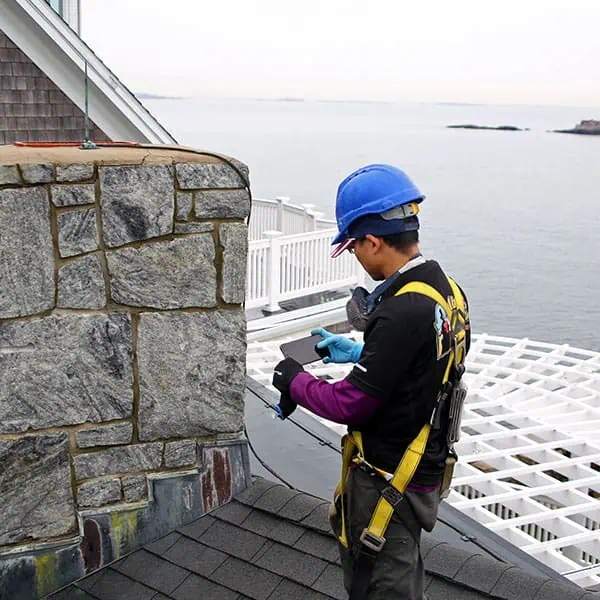
What makes crown damage easy to miss is that you can’t see it clearly from the ground. A chimney that looks completely intact from your yard can have a crown that’s cracked across its entire surface, allowing water to pool and penetrate the masonry every time it rains. This is one of the core reasons a camera-assisted inspection is worth doing annually rather than relying on a visual check from the driveway. By the time crown damage is visible from ground level, it’s usually been progressing for at least one full season.
A damaged crown can also accelerate liner deterioration. When water gets in at the top and runs down the flue, it puts consistent moisture pressure on the liner — which, in older Rochester homes, may already be a terra cotta liner that’s been in place for decades. A crown repair and a liner inspection often go hand in hand.
Flashing is the metal seal — typically aluminum, galvanized steel, or copper — that bridges the gap between your chimney and your roof. It’s designed to keep water from getting into that joint, which is one of the most water-vulnerable spots on any home. When flashing fails, water doesn’t just drip into the fireplace. It can get into the wall cavity, the ceiling, and the attic before you ever see it inside the living space.
Flashing fails for a few reasons. It can pull away from the chimney as the masonry expands and contracts with temperature changes. The sealant used around the edges dries out and cracks over time. In some cases, the flashing was never installed correctly to begin with — a problem that’s more common than it should be, especially on older homes. In Rochester, where nor’easters and heavy coastal storms put real stress on roof-to-chimney connections, flashing that’s even slightly compromised tends to fail faster than it would in a calmer climate.
The signs of flashing failure aren’t always dramatic. You might see water stains on the ceiling near the chimney. You might notice the interior walls around the fireplace feel damp or show discoloration. Sometimes there are no interior signs at all until the damage is significant. This is why flashing is one of the specific things we check during an inspection — because it’s a common failure point that’s easy to miss and costly to ignore.
Flashing repair is generally not an expensive fix when it’s addressed early. Resealing or replacing flashing typically runs a few hundred dollars. But if water has been getting through for a full season or more and has reached the framing or insulation, you’re looking at a much larger scope of work that goes well beyond chimney repair. Getting ahead of it before winter is simply the smarter financial decision, and it’s one of the clearest examples of why a pre-season inspection pays for itself.
The honest answer is: before you need it urgently. Fall books up fast for chimney companies serving the South Shore and Plymouth County, and homeowners who wait until October to schedule an inspection often find themselves waiting weeks — sometimes into November — before anyone can get out. By that point, the heating season is already underway.
If you’ve noticed any of the warning signs covered here — spalling bricks, white staining, a musty smell, visible crown cracks, or water in the firebox — those aren’t things to monitor through another winter. They’re things to address now, while repairs are straightforward and scheduling is still flexible. Even if you haven’t noticed anything specific, an annual inspection is the baseline standard for any chimney in regular use.
We’ve been working on chimneys throughout Plymouth County since 1986. If you’re in Rochester and want a straight answer about what your chimney actually needs — no pressure, no guesswork — reach out and get it on the calendar before winter takes that option off the table.
Article details:
Share:
Continue learning: