Discover what happens during professional chimney liner installation in Plymouth County, from initial inspection through final smoke testing.
Share:
Before any installation begins, our certified technicians conduct a comprehensive evaluation of your existing chimney system. This isn’t a quick glance—it’s a thorough assessment using specialized equipment to determine exactly what your chimney needs.
The inspection process involves examining the current liner condition, measuring flue dimensions, and identifying any structural issues that could complicate installation. We use closed-circuit cameras to evaluate areas invisible to the naked eye, spotting cracks, deterioration, or blockages that homeowners typically miss.
During this phase, we also determine the appropriate liner size and material for your specific heating appliance. Whether you’re venting a furnace, fireplace, or wood stove, the liner diameter must match your appliance’s requirements to ensure proper draft and safety.
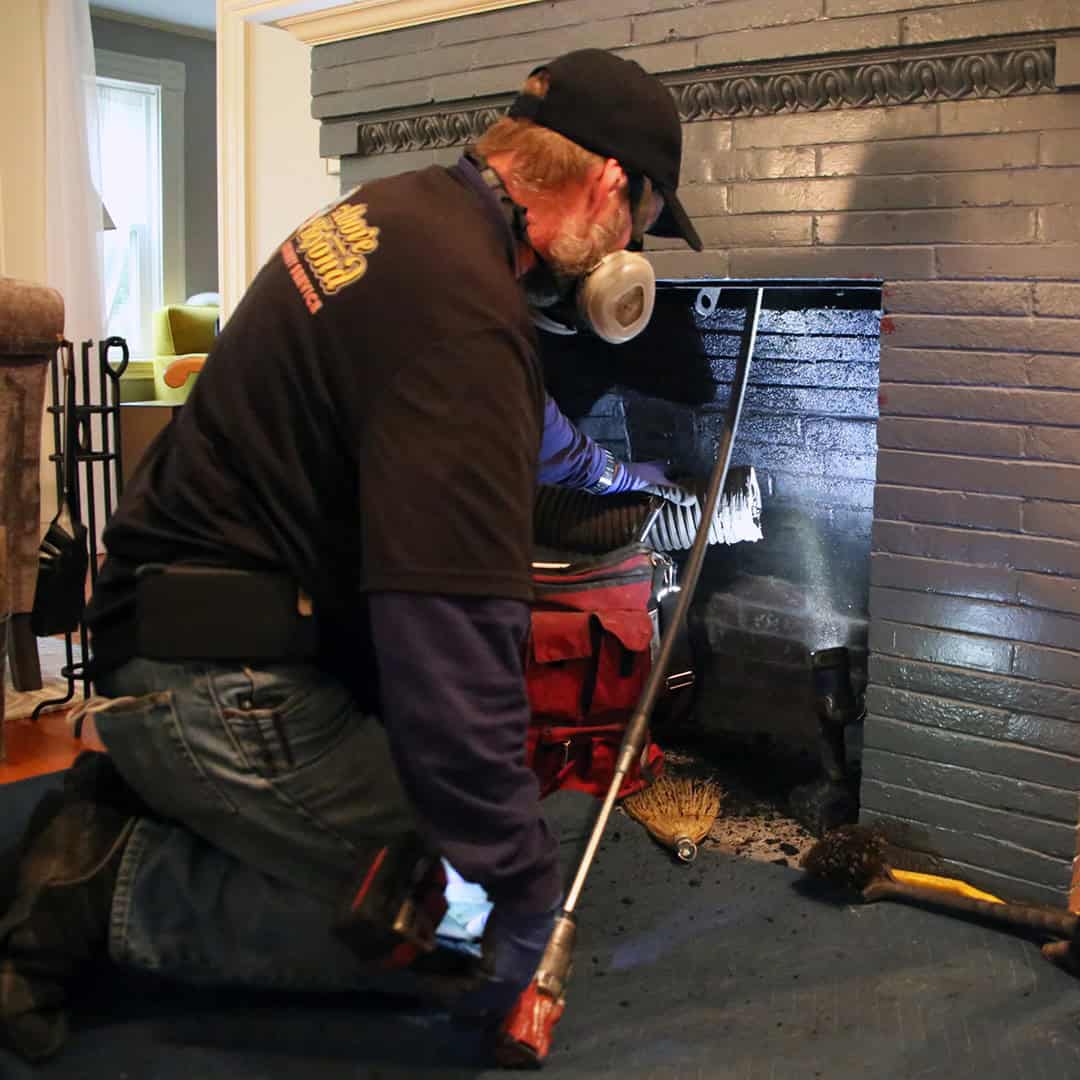
Once the assessment is complete, the real preparation begins. Your chimney gets a thorough cleaning to remove creosote buildup, soot, and any debris that could interfere with the new liner installation.
This step is more critical than most homeowners realize. Even small amounts of residual buildup can create installation difficulties or compromise the new liner’s performance. We use specialized brushes and vacuum systems designed specifically for chimney cleaning, ensuring every surface is properly prepared.
If your existing chimney has clay tile liners that need removal, we may use rotary demolition tools to safely break apart the old tiles. This process requires skill and experience—the tiles are systematically shattered and removed without damaging the surrounding chimney structure.
Any animals, nests, or other obstructions discovered during the inspection are also removed at this stage. Plymouth County chimneys commonly harbor birds, squirrels, or other wildlife that can create dangerous blockages. Professional removal ensures these obstructions won’t interfere with your new liner’s performance.
The cleaning process also includes checking for proper ventilation pathways and ensuring the chimney crown and cap areas are clear. This comprehensive approach prevents future problems and sets the stage for a successful installation.
Not all chimney liners are created equal, and the selection process involves more than just picking a diameter. We evaluate multiple factors to ensure you get the right liner for your specific situation and heating system.
Stainless steel liners are the most common choice for Plymouth County installations due to their durability and resistance to corrosive byproducts. These liners handle the temperature extremes and moisture conditions common in New England, making them ideal for wood-burning fireplaces, gas furnaces, and oil heating systems.
The sizing process is precise—never guesswork. Your liner diameter must match your appliance’s flue outlet exactly. Most residential applications require 6-inch or 8-inch diameter liners, but we verify this through careful measurement rather than assumptions. Using an undersized liner creates dangerous backdrafts and smoke problems, while oversized liners can cause poor draft performance.
Flexible stainless steel liners work well for chimneys with bends or offsets, while rigid liners are preferred for straight chimney runs. The choice depends on your chimney’s internal configuration, which we map during the initial assessment.
For high-efficiency gas appliances, specialized AL29-4C alloy liners may be required to handle the acidic condensation these systems produce. We understand these requirements and select materials that meet manufacturer specifications and local building codes.
Length calculations include the full chimney height plus additional footage for proper connections and adjustments. This ensures the liner extends from your appliance connection point all the way to the chimney top without gaps or shortcuts that could compromise safety.
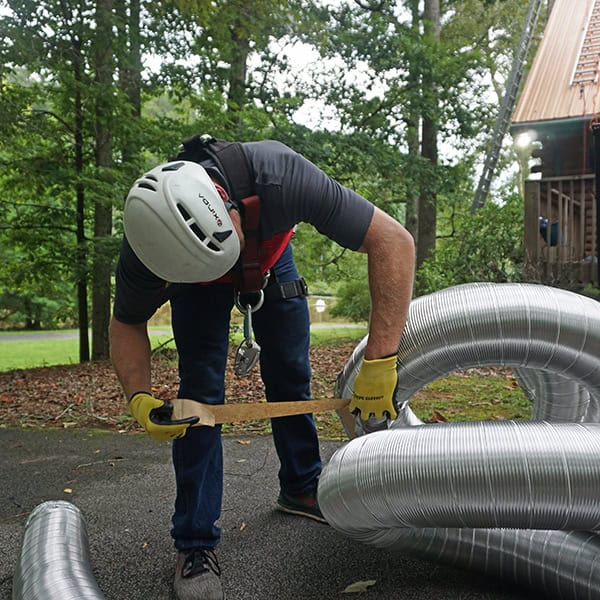
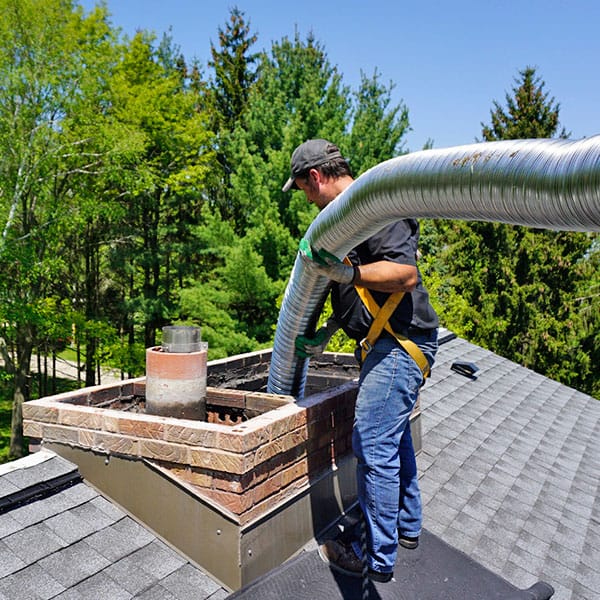
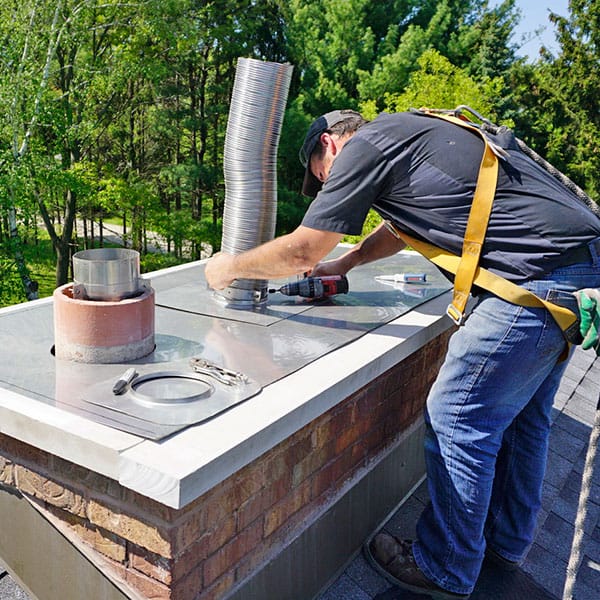
The actual installation follows a systematic approach that prioritizes safety and precision. Our team typically works with one technician on the roof and another inside the home, coordinating each step through clear communication.
Installation begins from the top of the chimney, with the liner carefully fed down through the flue. This process requires skill and patience—forcing or rushing the liner can cause damage or create installation problems that compromise the entire system.
Each connection point is carefully sealed and secured according to manufacturer specifications and local building codes. This attention to detail ensures your liner will perform safely for decades.
The liner installation process starts at the chimney top, where we carefully guide the flexible stainless steel liner down through the flue. This isn’t simply dropping a tube down the chimney—it requires careful maneuvering to navigate bends, offsets, and potential snag points.
We use specialized techniques to ease the liner through challenging sections. Gentle twisting motions help flexible liners navigate turns without binding or catching on chimney walls. If the chimney has multiple bends, we may need to work the liner through each section gradually, ensuring it doesn’t fold or crimp.
At the bottom connection point, we install the tee connector that links your heating appliance to the new liner. This connection must be precisely positioned and securely fastened—any gaps or loose connections can allow dangerous gases to escape into your home.
The horizontal section of the tee is inserted through the thimble (the opening in your chimney where the stove pipe connects), while the vertical section connects to the main liner. Our installation includes proper hose clamp connections and worm screw adjustments that create leak-proof seals.
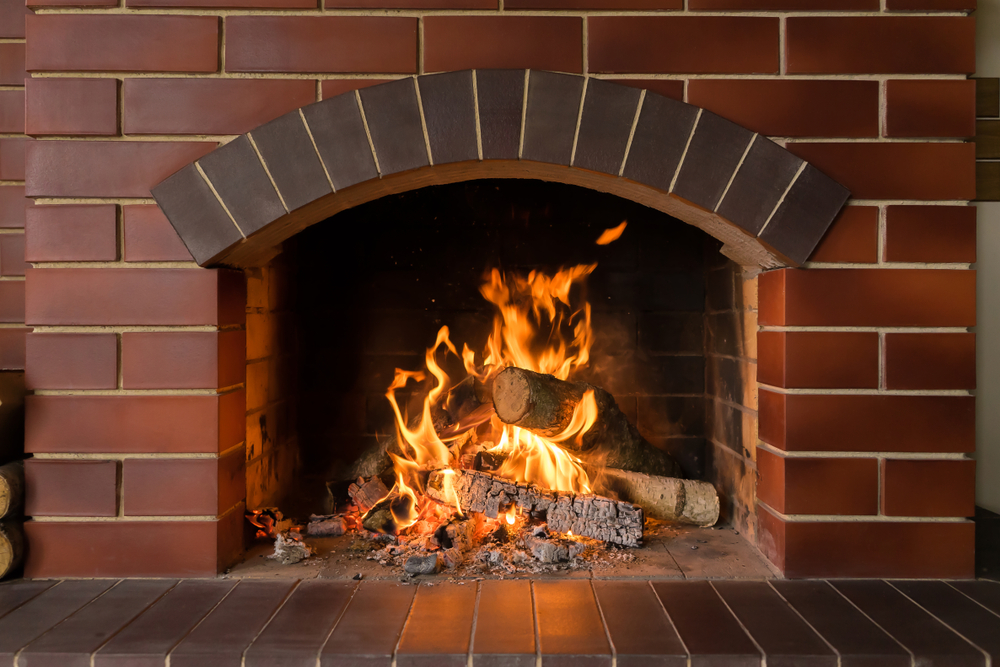
For fireplace installations, the liner extends down to the top of the smoke chamber, where it’s properly sealed and connected. This connection point is critical for preventing smoke and gases from escaping into your home’s structure.
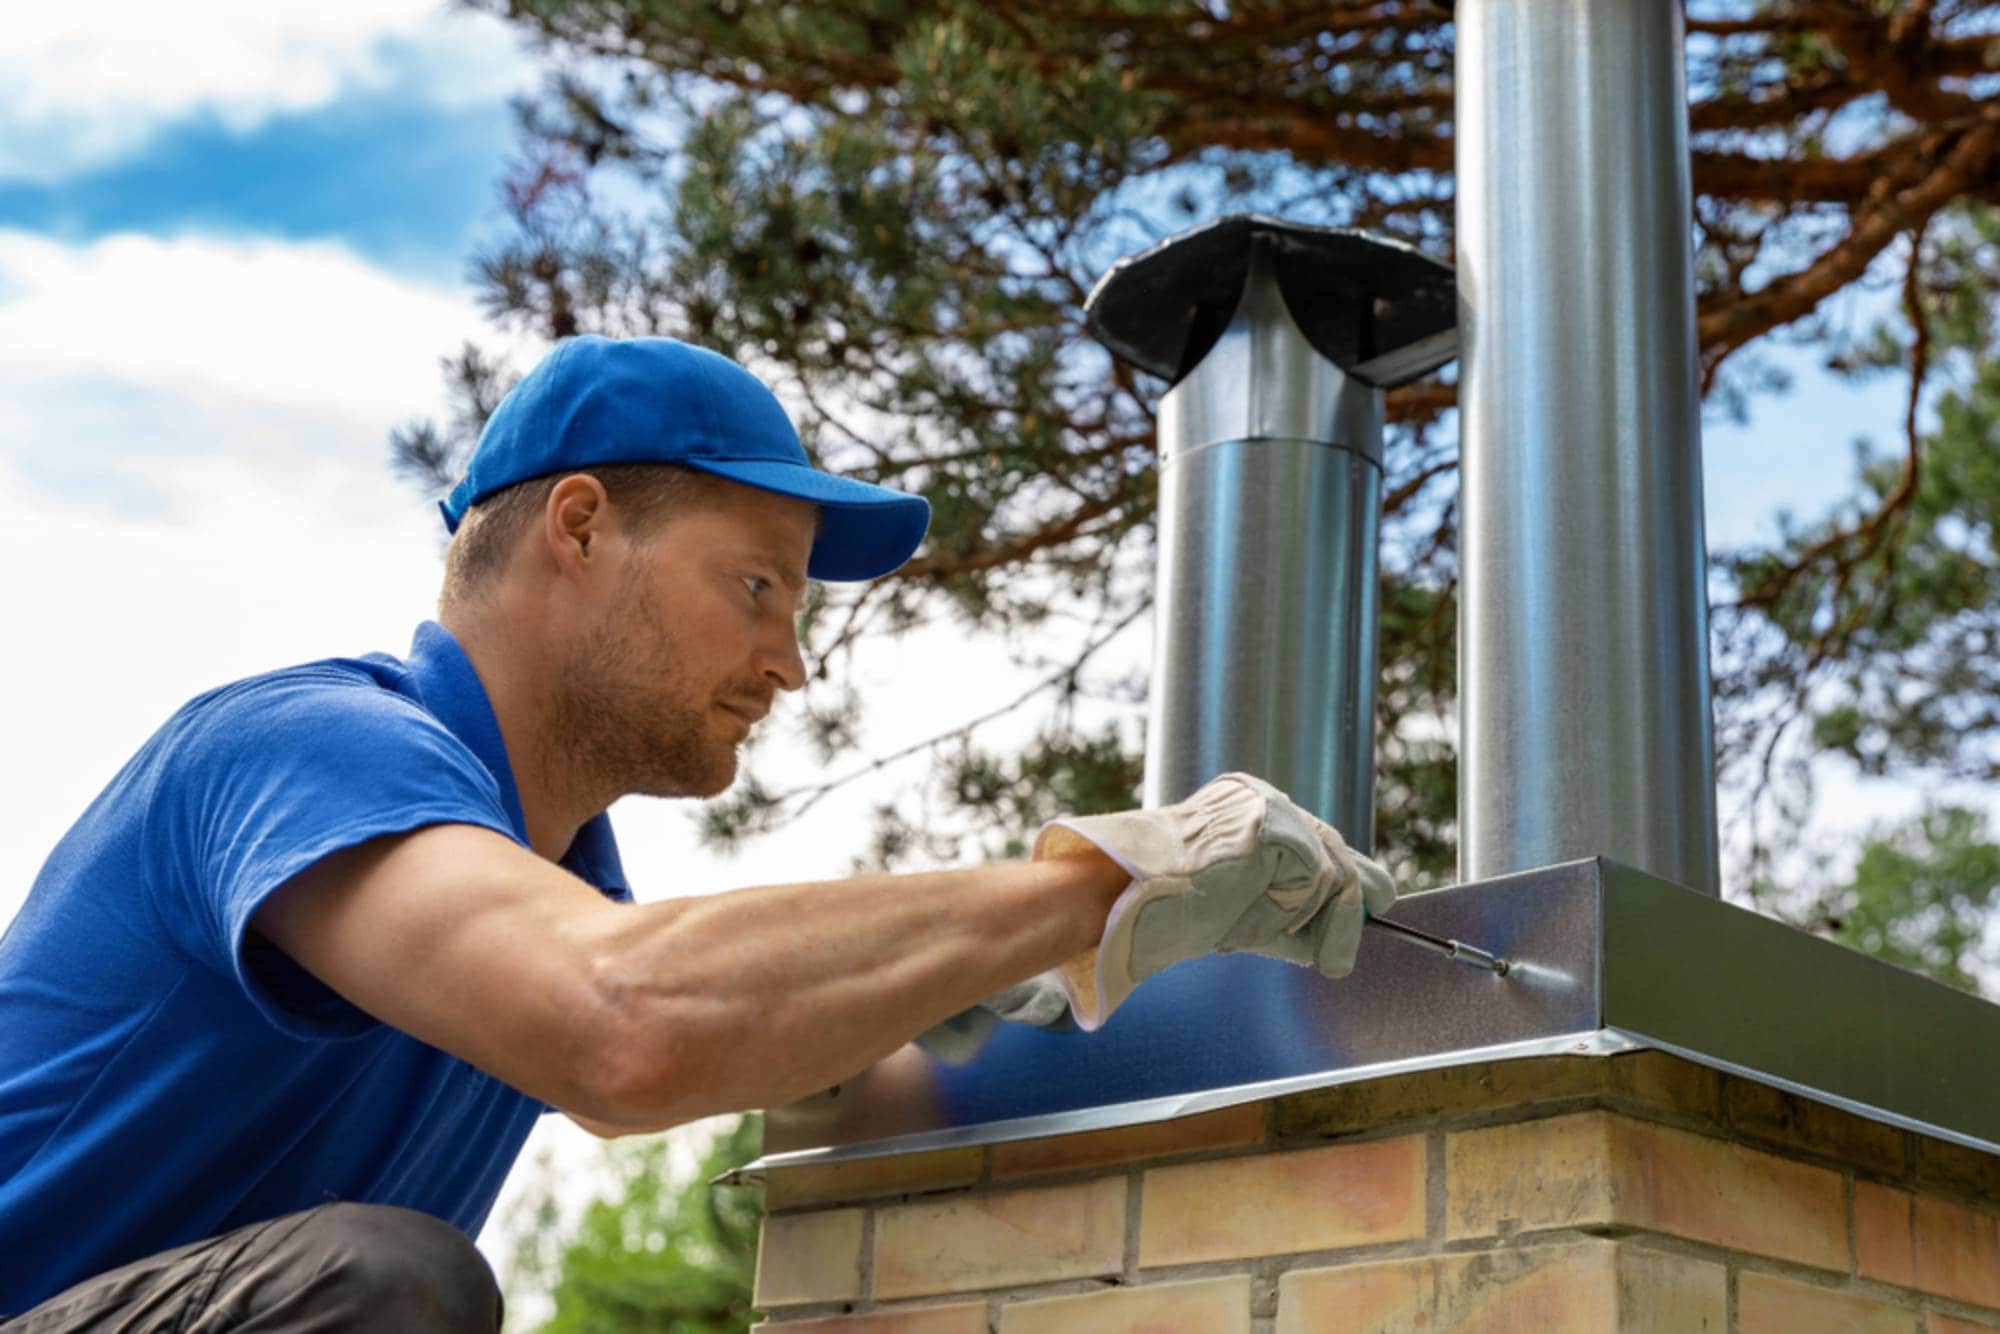
Once the liner is properly positioned, we install the top plate that seals the existing flue and supports the liner’s weight. This component serves multiple critical functions that directly impact your system’s long-term performance and safety.
The top plate installation begins with applying weather-resistant silicone sealant along the clay flue’s top edge. This creates a waterproof barrier that prevents rain, wind, and debris from entering the old flue space around the new liner.
The liner is then threaded through the top plate’s collar, and the plate is carefully positioned on the chimney top. We use the plate’s locking bolts to secure it to the clay flue, taking care not to over-tighten and risk cracking the existing masonry.
After the top plate is secured, excess liner material is trimmed flush with the plate’s collar using professional cutting tools. This precise cut ensures proper fit for the rain cap while maintaining the liner’s structural integrity.
The final step involves connecting the liner to the top plate’s internal clamp system. This connection bears the liner’s full weight and must be properly tightened to prevent settling or movement over time. Our installation includes testing this connection to ensure it can handle thermal expansion and contraction cycles.
A rain cap is then installed to complete the weather protection system. This cap prevents water intrusion while allowing proper ventilation, and it includes screening to keep animals and debris out of your newly lined chimney.
The installation isn’t complete until your system passes comprehensive testing. We perform smoke tests to verify proper draft and check for any leaks where dangerous gases could escape into your home.
This final verification process ensures your new liner meets all safety standards and will protect your family for years to come. You’ll receive documentation of the installation and testing results, along with maintenance recommendations to keep your system operating safely.
When you’re ready to protect your home with professional chimney liner installation, Above and Beyond Chimney provides the expertise and attention to detail that Plymouth County homeowners trust. Our certified technicians follow this proven process to ensure your installation meets the highest safety and performance standards.
Article details:
Share:
Continue learning: